
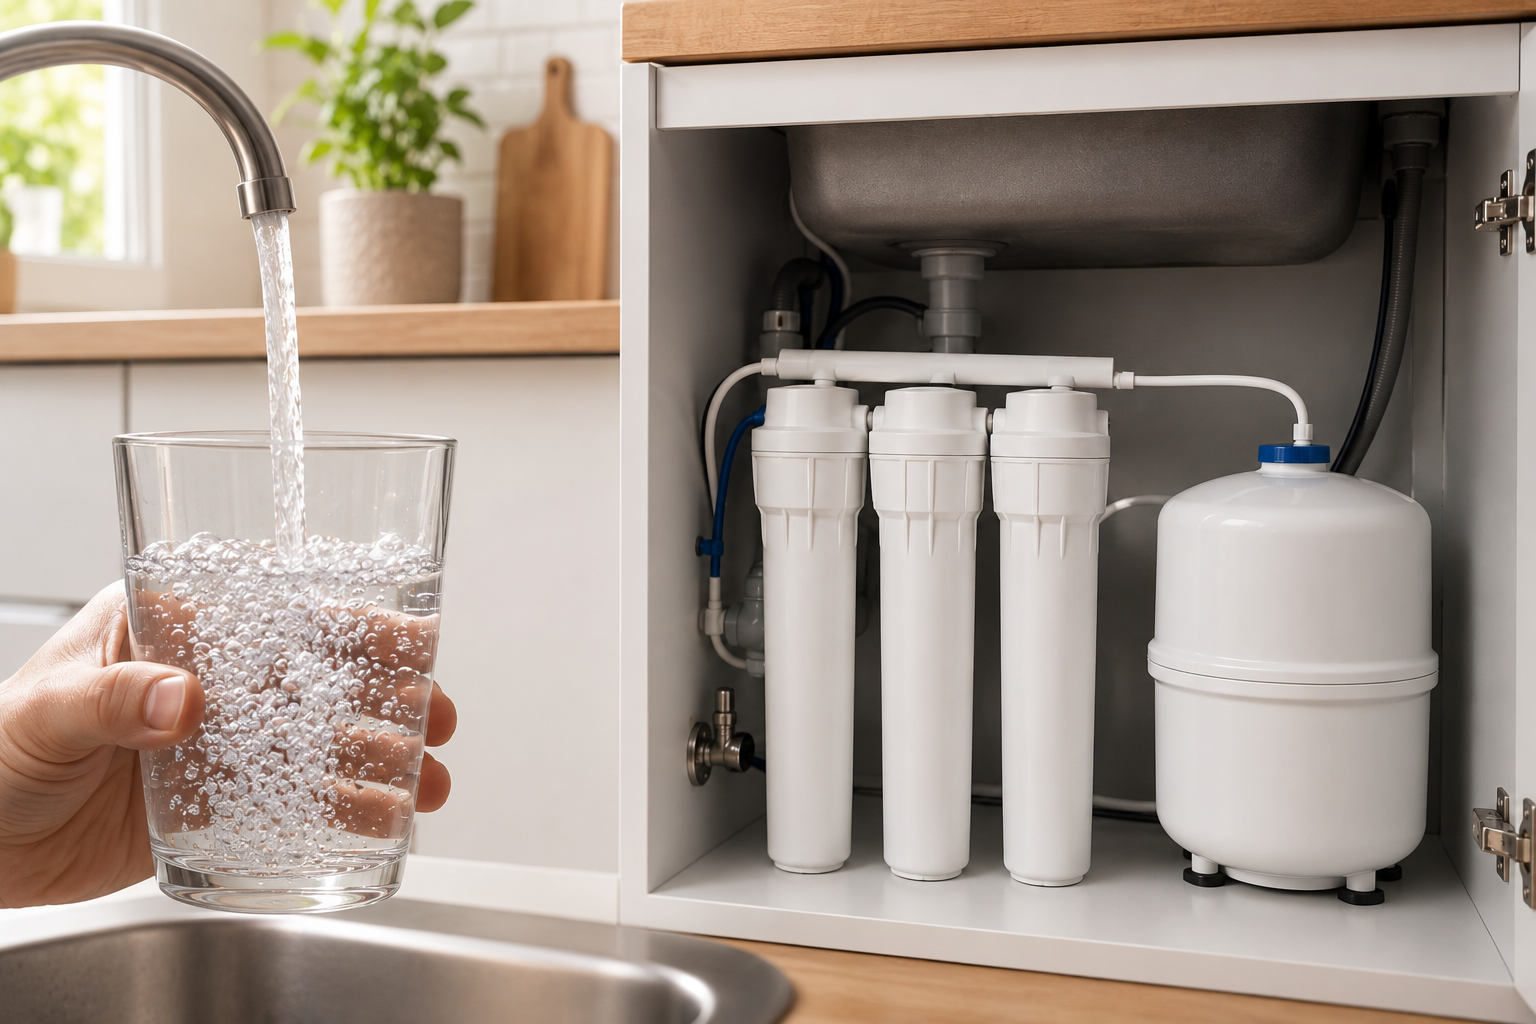
Why You Should Install an Under Sink Water Filter System Today
Install an under sink water filter system by following these core steps:
- Turn off the cold water supply valve under your sink
- Disconnect the cold water line
- Mount the filter bracket to the cabinet wall
- Connect the inlet tubing from the cold water line to the filter
- Connect the outlet tubing from the filter to your faucet (or dedicated filter faucet)
- Turn the water back on, check for leaks, and flush for 5–10 minutes

Total time: under 2 hours. Skill level: intermediate DIY.
Every year, millions of households spend hundreds of dollars on bottled water, or simply put up with tap water that tastes off and carries contaminants like lead, chlorine, microplastics and PFAS.
There's a better way.
An under-sink water filter connects directly to your cold water line and delivers clean, filtered water on demand. No refilling pitchers. No hauling plastic bottles. No countertop clutter.
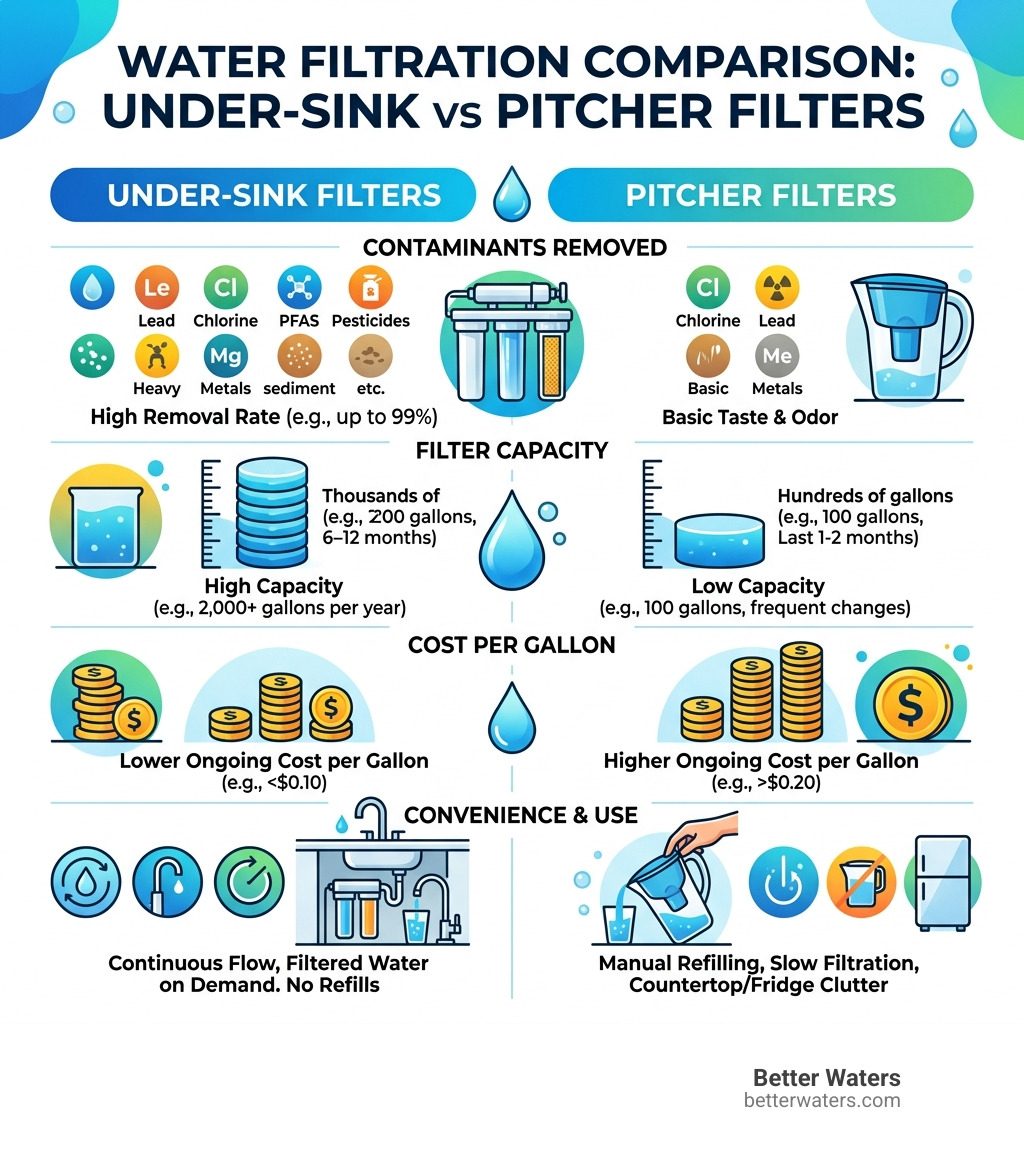
And the best part? You can install one yourself: no plumber required, no special tools, just a wrench, a drill, and about an hour of your time.
Modern multi-stage systems, built around carbon block filtration as their core technology, can remove up to 99.99% of dozens of contaminants while still preserving the healthy minerals your body needs. That's not something a pitcher filter can match.
Whether you're tired of the taste of your tap water, worried about what's in it, or just done buying single-use plastic, this guide walks you through everything: choosing the right system, installing it step by step, and keeping it running at its best.
Choosing the Right System for Your Home: The Power of Advanced Carbon Filtration
When you begin your journey to install under sink water filter system setups, the sheer variety of options can be overwhelming. You'll see single-stage, multi-stage, and Reverse Osmosis (RO) systems. To make the best choice, you need to understand what's actually happening inside those canisters.
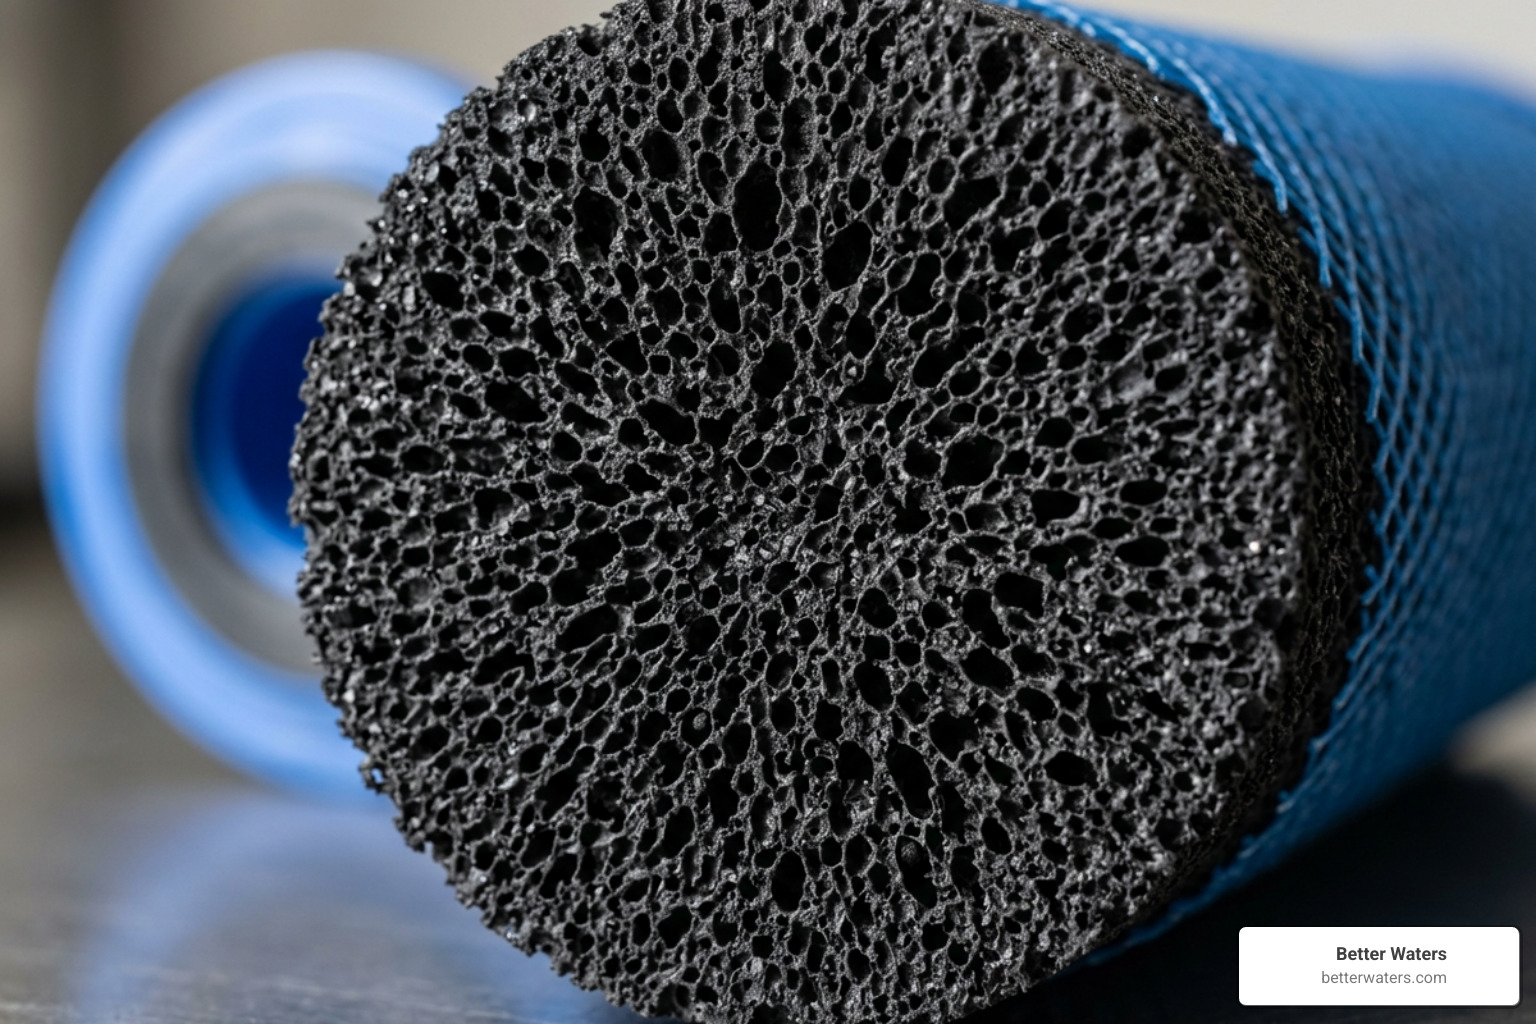
Most modern high-performance systems rely on activated carbon block technology. Carbon is the "workhorse" of water purification. It works through adsorption: literally sticking contaminants to its massive surface area. A single gram of activated carbon has a surface area greater than 3,000 square meters!
Understanding Filtration Types
- Single-Stage Filters: These are often "inline" filters. They are great for basic chlorine removal and improving taste, but they might miss more complex heavy metals or chemicals.
- Multi-Stage Filtration: This is the gold standard for most New York City apartments and homes. By combining different layers, such as a sediment pre-filter to catch rust and a dense carbon block for chemicals, these systems tackle a broad spectrum of issues in one go.
- Reverse Osmosis (RO): These systems use a semi-permeable membrane to strip almost everything from the water. While effective, they often require a storage tank, create "waste water," and can remove beneficial minerals.
For those living in areas like Manhattan or Brooklyn, the primary concerns are often aging infrastructure (lead), chlorine used for disinfection, and emerging contaminants like PFAS. To dive deeper into these nuances, check out our guide on Choosing a Water Filter and our In-Depth Essay: What to Understand When Choosing a Filter.
Introducing the XL7000: A Practical Implementation of Advanced Multi-Stage Filtration
If you are looking for the "sweet spot" between professional-grade performance and DIY simplicity, the XL7000 is our answer. Developed with 3M technology, this system is a powerhouse designed for the modern home.
The XL7000 utilizes a high-density carbon block that is NSF-certified. What sets it apart is its 6000-gallon capacity. While many standard filters need replacing every 600 to 800 gallons, the XL7000 keeps going, providing bottled-quality water for roughly a full year in the average household.
Furthermore, it boasts a 2.5 GPM (gallons per minute) flow rate. Most under-sink filters slow your water to a trickle; the XL7000 allows you to fill a pasta pot or a coffee reservoir in seconds, not minutes. It's the ultimate point-of-use solution that doesn't compromise your kitchen's functionality. Experience the difference with the XL7000 Water Filtration System or read our 6 Reasons to Install an Under Sink Water Filter to learn more.
How to Install Under Sink Water Filter System: A Step-by-Step Guide
Ready to get your hands a little wet? Don't worry: as of April 2026, modern systems are designed for ease. Most installations are completed in under two hours, even if the last thing you "built" was a piece of Swedish flat-pack furniture.
Step 1: Preparation and Space Check
Clear out the "cleaning supply graveyard" from under your sink. You need enough vertical clearance to hang the filter manifold and at least 3 to 4 inches of space below the cartridge so you can twist it off later for replacements.
Step 2: Shut Off the Water
Locate the cold water shut-off valve (usually the one on the right). Turn it clockwise until it stops. Open the cold water handle on your faucet to drain any remaining pressure and water. Pro tip: Keep a small bucket or a thick towel underneath the valve to catch the "dribble" when you disconnect the lines.
Step 3: Install the Supply Adapter
Unscrew the existing flexible hose from the shut-off valve using your adjustable wrench. Screw a "T-adapter" or brass tee onto the shut-off valve, then reconnect your faucet's flexible hose to one side of the tee. The other side of the tee will be the dedicated feed for your filter.
Step 4: Mount the System Manifold
Hold the filter head (the manifold) against the cabinet wall. Use a pencil to mark the screw holes.
- Drill pilot holes: This prevents the wood from splitting.
- Drive the screws: Leave them slightly loose, hang the manifold, then tighten them down. Ensure it is level and high enough that the filter won't hit the bottom of the cabinet.
Step 5: Connect the Tubing
Most modern systems use quick-connect fittings. These are magic. You simply push the plastic tubing into the hole until it stops (usually about an inch deep).
- Connect the "Inlet" port of the filter to your new brass tee adapter.
- Connect the "Outlet" port of the filter to your faucet (or the dedicated filtration tap).
Essential Tools to Install Under Sink Water Filter System
You don't need a professional plumber's van, but having these basics on hand will save you three trips to the hardware store:
- Adjustable Wrench: For tightening the brass tee and water lines.
- Phillips Screwdriver: To secure the mounting bracket.
- Electric Drill with 1/8" bit: For pilot holes in the cabinet.
- Tubing Cutter (or sharp utility knife): To ensure clean, square cuts on your plastic lines. A jagged cut is the #1 cause of leaks!
- Teflon Tape: Use this on metal-to-metal threads to ensure a watertight seal.
- Bucket and Towels: Because water follows gravity, always.
Safety Precautions to Install Under Sink Water Filter System
Before you twist that water valve back on, keep these safety rules in mind:
- Cold Water Only: Never connect a drinking water filter to the hot water line. High temperatures can damage the filter media and cause the plastic housing to fail.
- Check Your Pressure: Most systems are rated for 20–80 psi. If you live in a high-rise in Manhattan with extreme water pressure, you might need a pressure-reducing valve.
- Avoid Overtightening: Plastic threads are easy to strip. Hand-tighten first, then give it a quarter-turn with a wrench.
- Clearance: Ensure the tubing isn't kinked or pinched by heavy items like large bottles of detergent.
Post-Installation: Flushing, Testing, and Maintenance
Once everything is hooked up, it's time for the "moment of truth."
The First Flush
Slowly turn the cold water supply valve back on. You might hear some hissing or gurgling: that's just air leaving the system. Open your dedicated filter faucet. The water might look "milky" or even dark grey at first. Don't panic! This is just "carbon fines" (tiny dust particles from the new filter) and air bubbles.
Run the water for 5 to 10 minutes continuously. This activates the carbon block and clears out the system. If you want to be eco-friendly, use this flush water to water your plants or wash the floor!
Leak Inspection
While the water is running, take a flashlight and look at every connection point. Touch the joints with a dry paper towel; even a tiny drop will show up clearly. If you see a leak, shut off the water, release the pressure by opening the faucet, and reseat the tubing or tighten the fitting.
Maintenance and Filter Life
The beauty of a high-capacity system like the XL7000 is that you don't have to think about it often. However, for optimal safety and taste, we recommend a 6-month to 1-year replacement interval depending on your household usage.
If you notice the flow rate slowing down significantly, it usually means the filter has done its job and is "full" of sediment and contaminants. Still wondering if this is the right move for you? See our article: Do I Need an Under Sink Water Filter.
Why Under-Sink Systems Outperform Pitchers and Whole-House Filters
Many of our New York City customers ask: "Why not just use a pitcher?" or "Should I get a whole-house system?" Here is how they stack up against a professional-grade under-sink unit like the XL7000.
| Feature | XL7000 Under-Sink | Pitcher Filter | Whole-House System |
|---|---|---|---|
| Filtration Depth | Multi-stage (Sub-micron) | Basic Carbon | Varies (often sediment only) |
| Flow Rate | 2.5 GPM (High) | Very Slow | Full House Flow |
| Contaminants | Lead, PFAS, Chlorine, Cysts | Chlorine & Taste only | Large particles/Chlorine |
| Capacity | 6000 Gallons | 40–100 Gallons | 100,000+ Gallons |
| Space Used | Under sink cabinet | Countertop/Fridge | Basement/Utility Room |
| Installation | DIY (1 hour) | None | Professional Required |
While whole-house systems are great for protecting your pipes and appliances from scale, they are often overkill (and too expensive) for renters or apartment dwellers who just want great-tasting drinking water. Pitchers, on the other hand, are often "too little, too late": they simply don't have the contact time or pressure required to remove heavy metals effectively. For a deeper dive into this comparison, read Why a Point-of-Use Water Filter Just Makes Sense for Your Home. Upgrade to the XL7000 Water Filtration System today.
Frequently Asked Questions (FAQ)
Can I install this system in a rental?
Yes! Most under-sink systems are "non-permanent." When you move out of your Manhattan or Brooklyn apartment, you can simply remove the T-adapter, reconnect the original hose, and take the filter system with you. Just be sure to get your landlord's "okay" before drilling any holes in the cabinet walls. If you can't drill, you can often set the filter manifold on the floor of the cabinet.
Do I need a separate faucet for my filter?
Not necessarily. Many systems, like the XL7000, can be "direct-connected" to your existing cold water kitchen tap. However, using a dedicated filtration faucet (a smaller, stylish tap) helps preserve the life of your filter because you aren't using "filtered" water to wash the dishes: you only use it for drinking and cooking. If your sink has an existing hole for a soap dispenser or a side sprayer that you don't use, that's the perfect spot for your filter tap!
What should I do if I find a leak after installation?
First, don't panic. Shut off the water supply immediately.
- Check the tubing: Most leaks happen because the tubing wasn't pushed in far enough. Give it a firm shove.
- Check the O-ring: If the leak is coming from the filter head, ensure the O-ring is seated correctly and isn't pinched or dry.
- Teflon Tape: If a metal connection is dripping, you likely need a few more wraps of Teflon tape (wrap it clockwise!).
Conclusion
In April 2026, there is simply no reason to rely on expensive, environmentally damaging bottled water. Learning to install an under sink water filter system is a foundational skill for the modern, health-conscious homeowner.
By choosing a professional-grade system like the XL7000, you are investing in 3M-developed technology that provides 6000 gallons of pristine, NSF-certified water right at your fingertips. It is a win for your wallet, a win for the environment, and most importantly, a win for your family's health.
Ready to make the switch? Upgrade to the XL7000 Water Filtration System today and start enjoying bottled-quality water without the bottle.
Share:
The Longevity Secret for Under Sink Filters
No Drill No Problem: Easy Water Filtration for Tenants